
Setting Up Delivery Promise
Configuring Delivery Promise for your store can be done in four steps. You can follow these steps from Delivery Promise Onboarding.

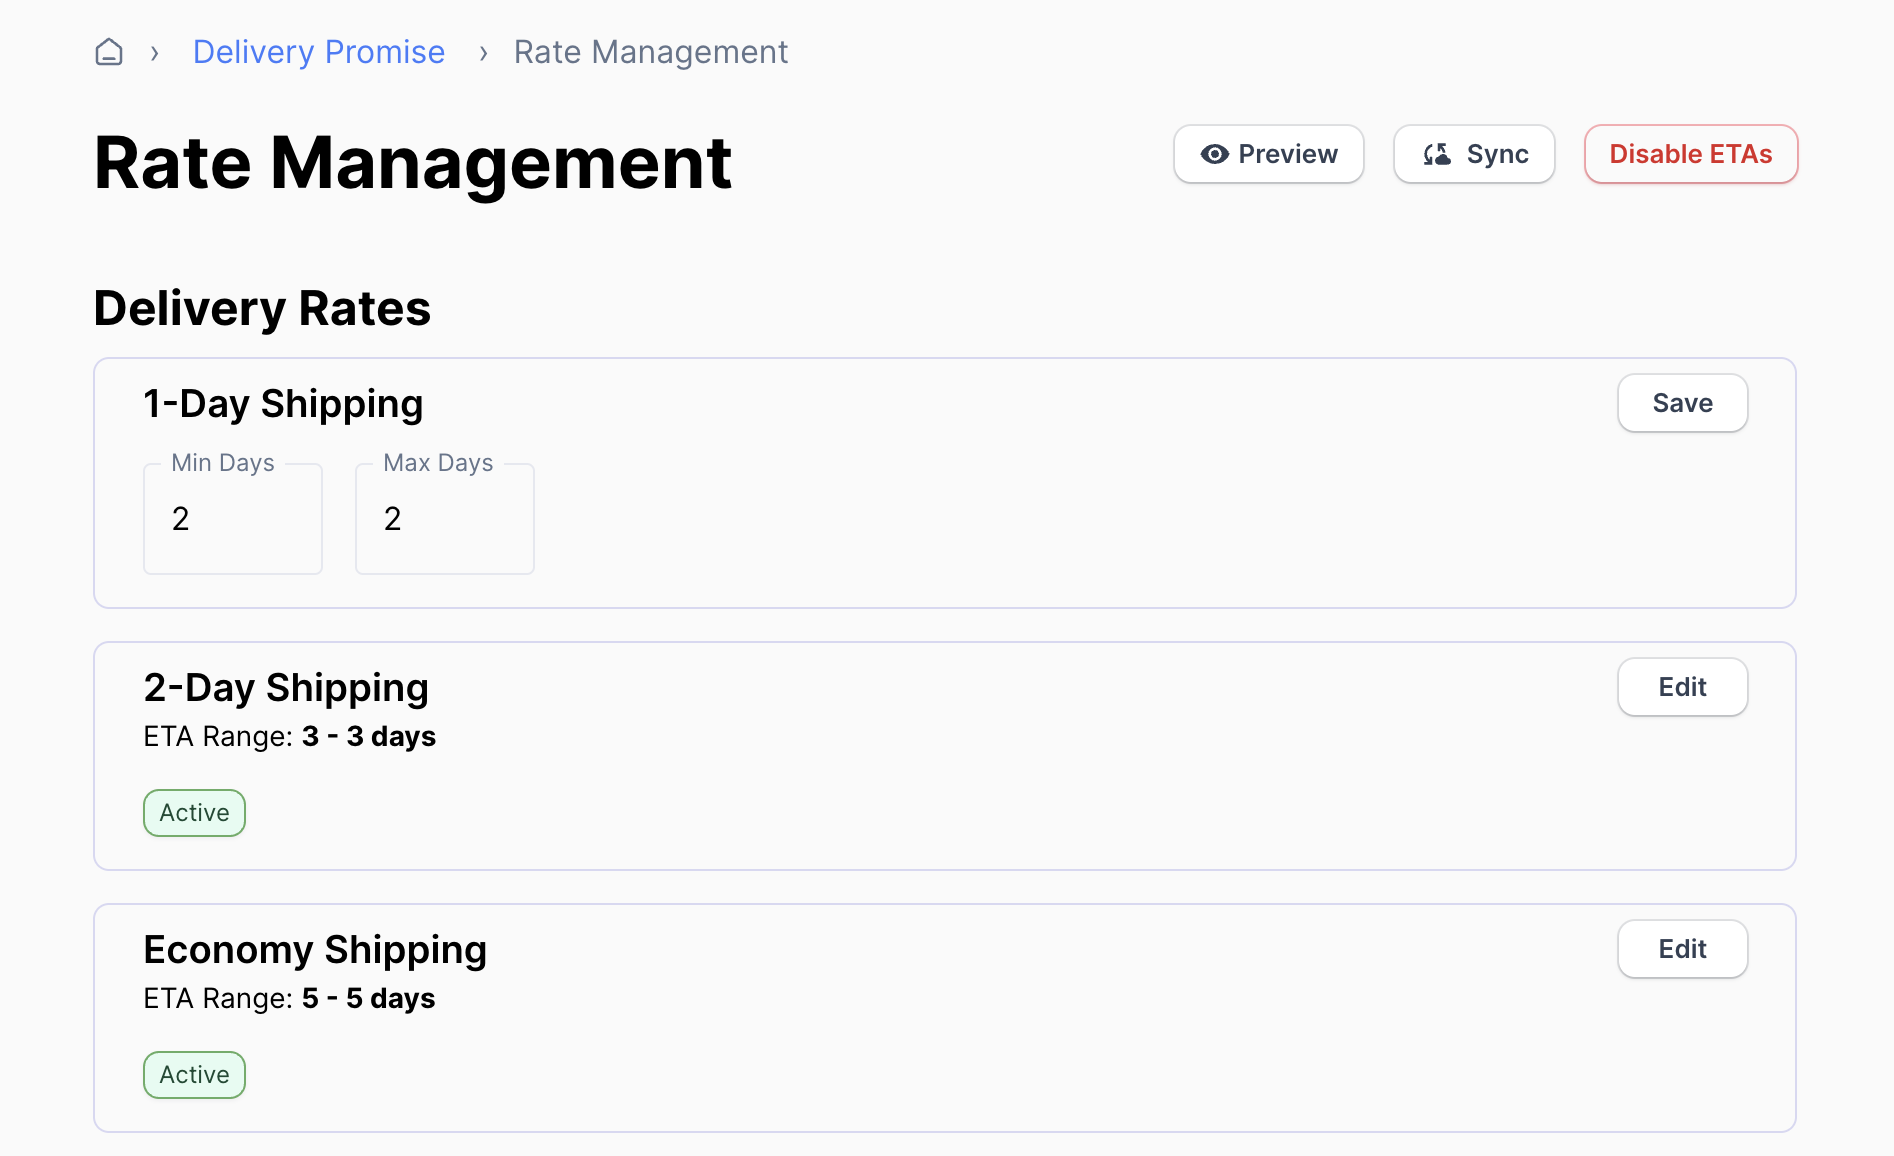
1. Review the default settings for your delivery estimates in Rate Management.
These defaults will only be used if Wonderment can't calculate a delivery estimate using our model, such as orders to remote areas where you have no recent deliveries. Delivery estimates are recalculated automatically every day.
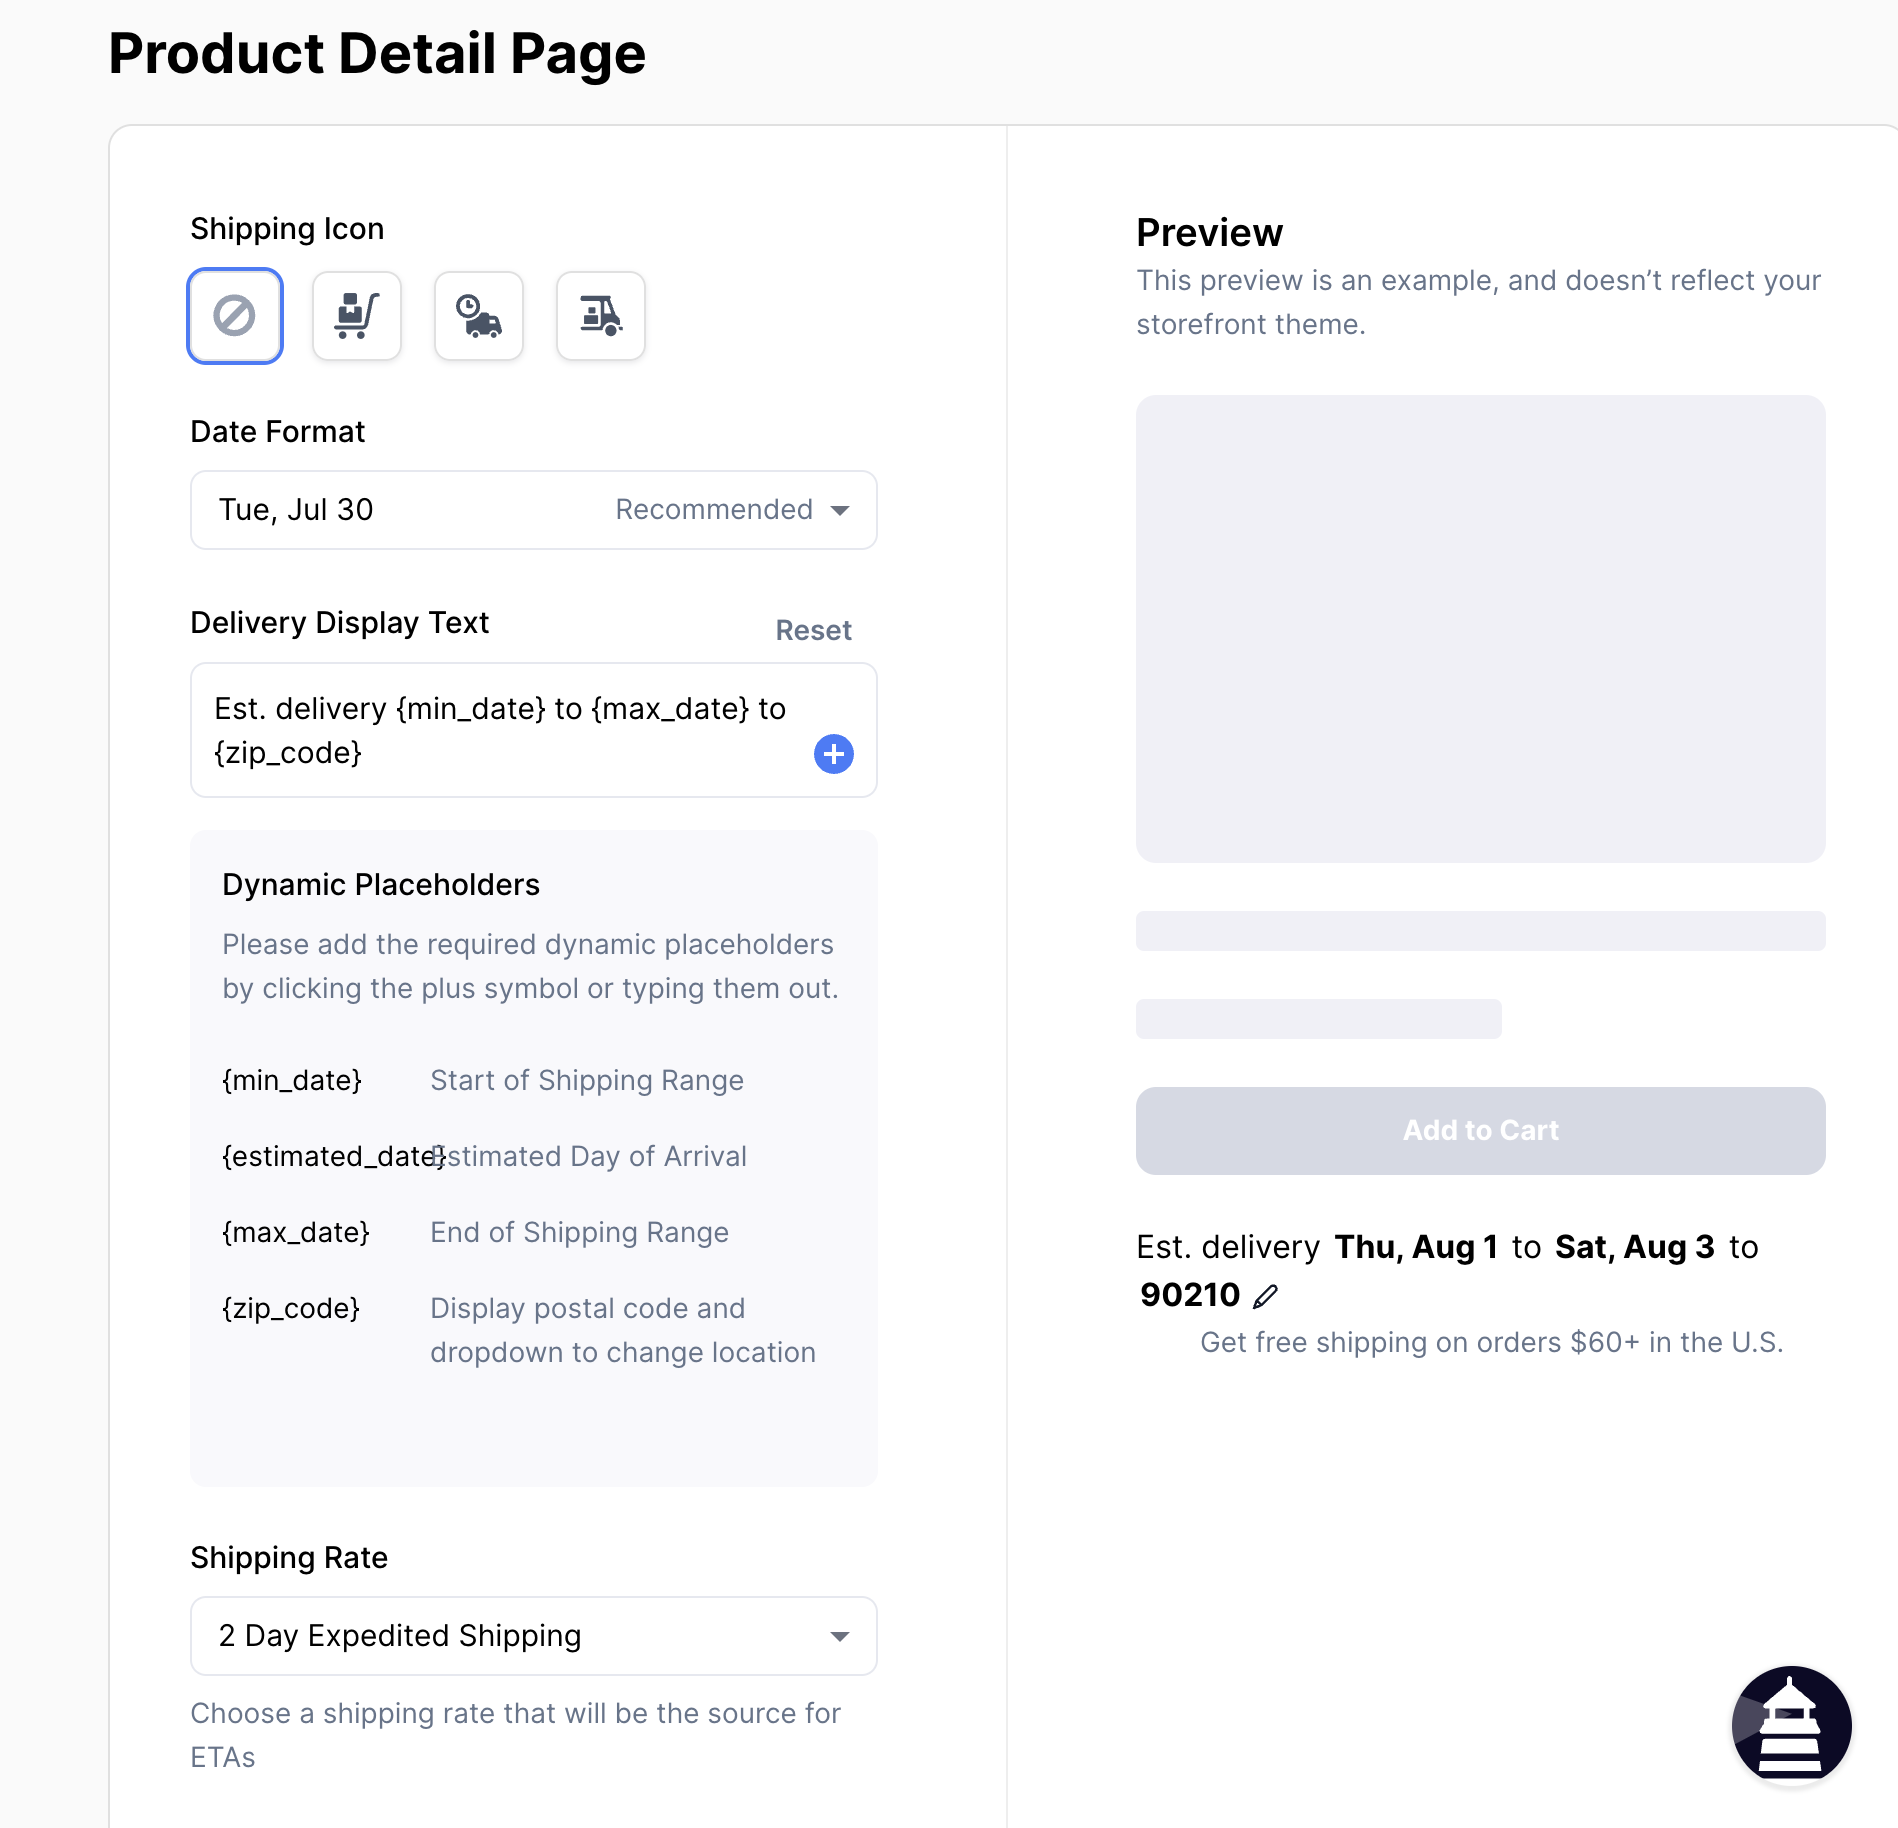
2. Configure and add the Product Page block to your product pages
You can configure the block settings in Product Detail Page in Wonderment. For more detailed information on the block's settings and adding it, visit our dedicated article on the PDP Block.
3. Add Delivery Promise to your checkout [*Shopify Plus only]
Shops that are on the Shopify Plus and have migrated to Checkout Extensibility, you can add the Delivery Promise block to your checkout and show ETAs in the checkout flow. Open the Shopify Theme Editor, navigate to Checkout -> Shipping and add the App Block. More detailed instructions are here.
4. Activate Delivery Promise billing.
If you're a customer coming from the Early Adopter or Feedback Session program, you'll see your discounted pricing reflected here, before going to Stripe to securely enter your billing information.
Finally, enable delivery estimates in Wonderment on the Onboarding screen. Once enabled, customers will see Wonderment-powered delivery estimates in checkout. You can come back and modify the settings at any time for immediate effect.